
Web Analytics
Building A First-party Data Strategy For Ecommerce After The Cookie
Third-party cookies are gone and platform signals keep shrinking. We show you what data to collect first, how to activate it, and where it outperforms.
Read MoreWelcome to the wonderful world of advertising! It’s fun to run campaigns and see those numbers climbing, but if you’re here searching for “How to create…


Welcome to the wonderful world of advertising! It’s fun to run campaigns and see those numbers climbing, but if you’re here searching for “How to create Google Ads conversions for Shopify“, chances are you’ve already realized something: without data, you’re just guessing. You need conversions to track, optimize, and scale your campaigns effectively.
And that’s where I come in. I’ll walk you through the process, offering a simple, a less simple, and even a complex option. You choose what works for you, based on your needs.
Before we dive into the how-to, let’s make sure we’re on the same page about what a Google Ads conversion is.
Conversions are little pieces of code that trigger when a user performs a specific action on your site. On Shopify, these are usually actions like:
You might have other actions you want to track, and depending on which method you choose (we’ll get there!), you’ll have more or less control over how and what gets tracked. The best part? You don’t need to be a developer to get this working. I’m not a developer, and I work daily with this stuff!
If you’re running ads but not tracking conversions properly, you’re essentially flying blind. Google Ads relies on conversion data to optimize campaigns. Without it, Google can’t accurately bid for the most valuable traffic, which means wasted ad spend.
Accurate tracking ensures that you can:
It’s not just about getting clicks; it’s about making sure those clicks turn into valuable actions that boost your revenue.
Tracking conversions on Shopify can be simple, but as with all things simple, you may lose a bit of flexibility. Let’s walk through the three main options I often come across during audits.
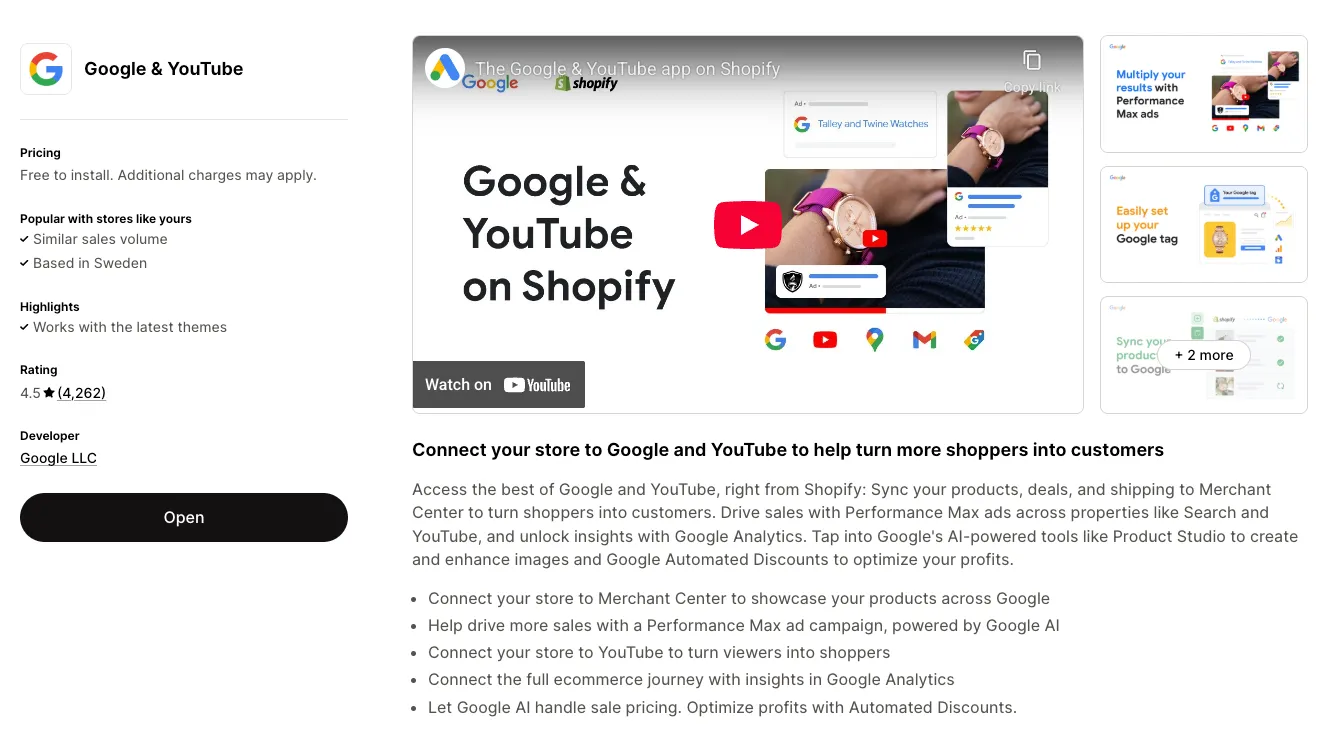
This one’s for the non-techies who want something easy and quick. Head over to the Shopify App Store, find the Google app, and install it. The app automatically configures conversion tracking for actions like purchases, add-to-cart, etc. It’s as easy as it sounds. The data will start flowing into both Google Analytics 4 and your Google Ads account.
Pros:
Cons:
Best for: Small to medium Shopify stores that want a simple setup without worrying about the technical details.
Some tips: If you’re using the app, check your Shopify and Google Ads integration regularly to ensure everything is working smoothly.
Keep an eye on browser changes or Shopify updates that could affect the app’s functionality.
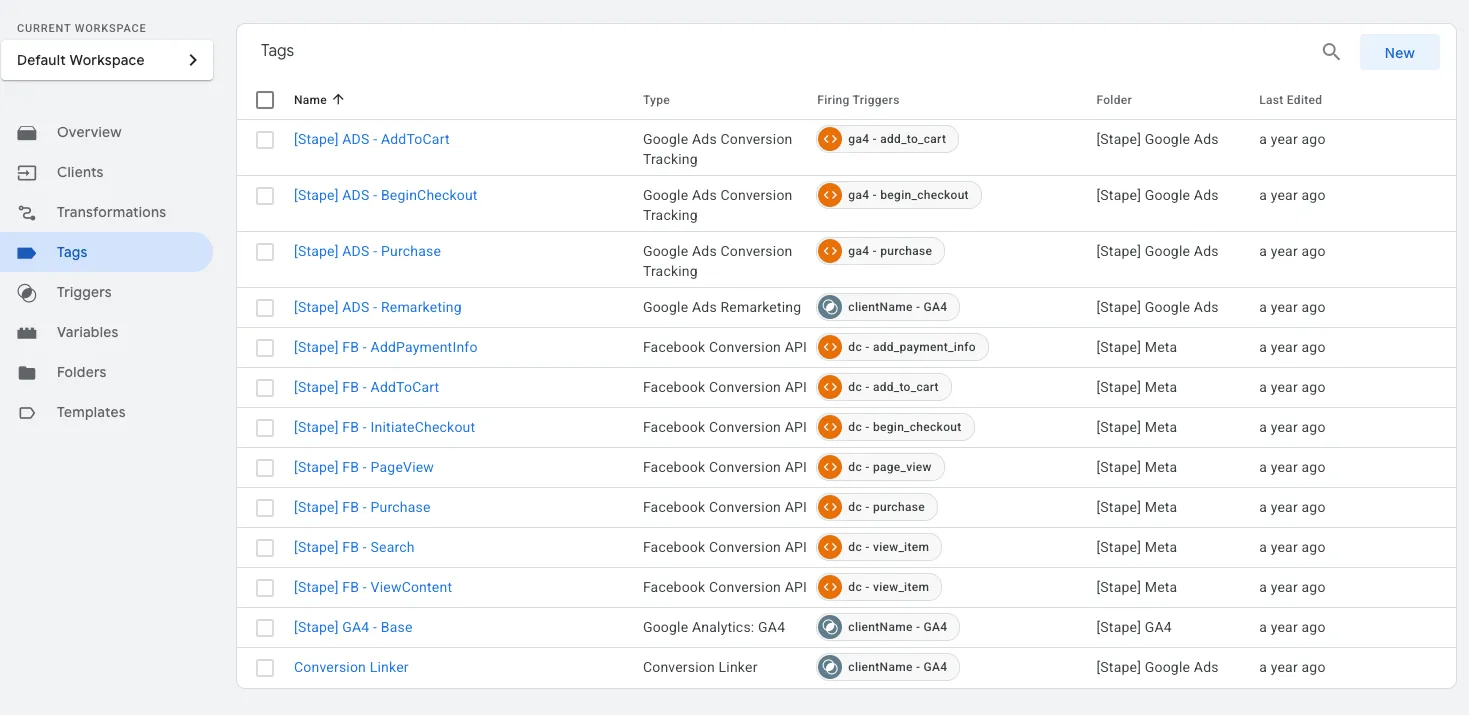
If you’re looking for more control over your conversion tracking but don’t want to build everything from scratch, using Google Tag Manager (GTM) combined with Stape’s app and the pre-configured GTM container is a great middle ground. This method offers flexibility without the complexity of setting up your own custom data layer or configuring the GTM container.
Here’s how it works: you begin by installing Stape’s app, which automatically integrates GTM into your Shopify store. Stape also provides a pre-configured GTM container with essential conversion tags and triggers already set up for tracking common Shopify events, such as purchases and add-to-cart actions. All you need to do is follow this guide and have access to the Shopify customer events.
Pros:
Cons:
Best for: Medium to large stores, or businesses planning to scale that need more control over their tracking but don’t want to dive into complex custom setups.
Some tips: Use GTM’s debug mode to ensure your tags are firing correctly before going live.
Set up triggers that fire only when a user completes a meaningful action (like a purchase), to avoid tracking irrelevant data.
For the most advanced users, setting up a custom data layer (what is a dataLayer?) in conjunction with GTM provides the highest level of control and flexibility. This method allows you to track nearly any user action on your site by pushing dynamic data into GTM, which will then trigger specific tags.
While this option offers ultimate customization, it’s also the most complex. You’ll need to adjust your Shopify theme to include the necessary data points in the data layer, which might involve some coding, or an app that injects them for you (at the cost of losing control).
Pros:
Cons:
Best for: Large or enterprise-level stores with complex conversion tracking needs that require custom interactions and scalability.
Some tips: Work closely with a developer (or get hands-on if you have the skills) to customize your data layer for the most accurate tracking.
Test thoroughly using GTM’s preview mode before launching any new tags or events.
By connecting your Shopify store to Google Merchant Center, you can easily sync your product catalog with Google, so it’s ready to power your Google Ads Shopping campaigns. This means your products are automatically uploaded to Google, and Google Ads can directly link your campaigns to the right products that users are interacting with.
You can do this through the Google app, but it’s not the only option. Other tools, like DataFeedWatch, can also help with this integration.
Now, if you’re using the Google app but prefer to track conversions through Google Tag Manager (like I do), no worries! You can set it up so that your catalog syncs with the Merchant Center, but without sending conversion data, if you prefer.
The best part? No matter what method you choose from the previous ones, the events and conversions will work seamlessly with the catalog, and you can even do some awesome dynamic remarketing to bring back customers who’ve already shown interest.
So, Shopify is for sure a solid choice if you’re planning to do Shopping Ads. Well, I enjoy using it for multiple reasons, to be honest!
If you’re using Google Tag Manager on Shopify, you’ve probably noticed something odd: **GTM Preview doesn’t work in the checkout.**Nothing is broken, it’s just the checkout, which runs inside a sandbox environment, so GTM can’t be inspected or debugged there as it does on the rest of the site.
But this part matters: GTM does work in checkout if you load it through a Custom Pixel**.**
Events still fire, conversions are tracked, dynamic remarketing works, and so on.
You just don’t see the Preview/Debug panel, so you’ll need to rely on test orders or network calls instead.
And if you’re wondering “ok, but how do I load GTM inside a pixel?” the process is actually easier than it sounds:
So yes, you lose real-time visibility while debugging, which is just part of how Shopify’s sandbox works today, but it’s like this to improve user security.
One last thing before we close this chapter.
Since GTM Preview Mode doesn’t work in the checkout, if you want to debug, there’s only one real way to do it: DevTools.
Quick and simple breakdown:
There you’ll be able to check which events are firing.
There you have it, three solid ways to set up Google Ads conversion tracking for your Shopify store. Whether you’re looking for something simple, want a bit more control, or need ultimate flexibility, there’s an option for you.
To recap:
No matter which option you choose, remember that accurate conversion tracking is key to optimizing your Google Ads campaigns and improving ROI. So, go ahead, set up your conversions and start tracking the right actions. With the right data in hand, you’ll be ready to scale, optimize, and watch your campaigns soar!
You can, but it’s usually not necessary. Most stores will find one method that works best. However, advanced users might use a combination for specific needs.
Start by checking if your tags are firing correctly using GTM’s preview mode. If you’re using an app, make sure it’s up to date and that there are no conflicts with other apps or updates. With the apps, you can check using the Network tab (using Chrome DevTools), but it won’t be super easy.
GTM offers much more flexibility and control over what gets tracked and when. It’s the right choice for scaling and complex tracking needs, but if you’re just starting out or don’t need customization, the Shopify app might be sufficient.